
I have long admired those beautiful dried orange wreaths that you see around the holidays but always felt far too intimidated to try them myself. But after moving into a new home with a green door, we found that a traditional wreath was blending in. So I took a leap and my husband and I jumped in, and by jumped in I mean went to Costco and bought two huge bags of oranges and invested in our first hot glue gun.
How to Make a Dried Orange Wreath
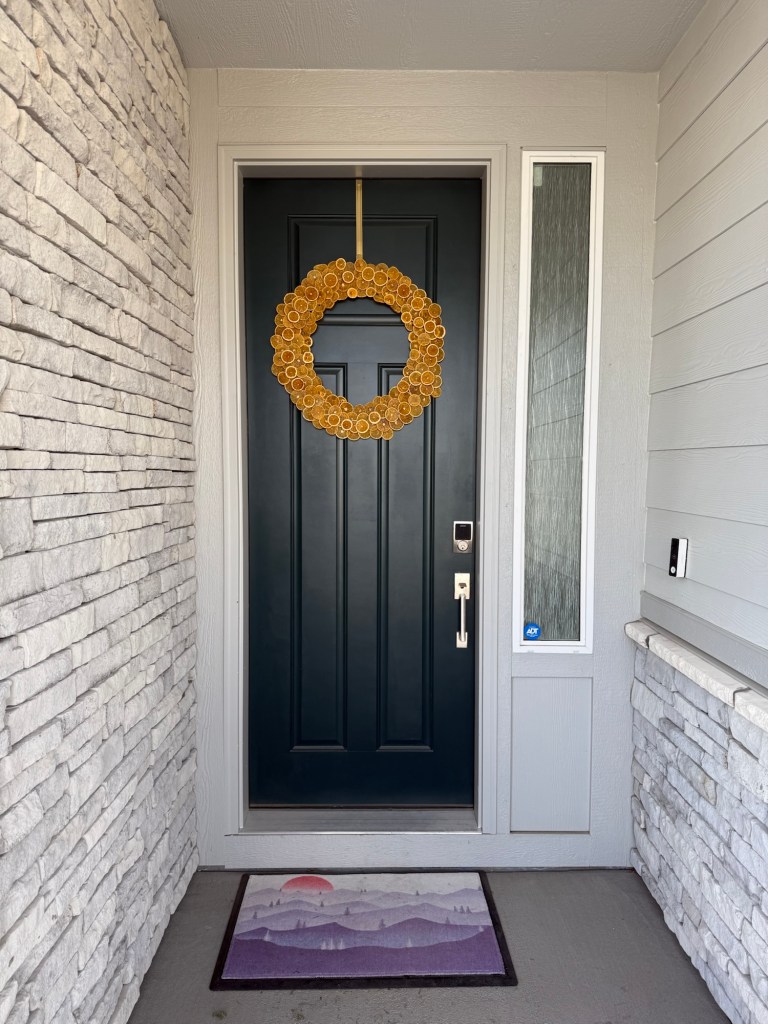
Looking for a fun and festive DIY that makes a big impact? A dried orange wreath is the perfect seasonal touch—especially if your front door needs a little pop of contrast like ours did!
What You’ll Need:
- Wreath frame (grab one at Michaels, Hobby Lobby, or any craft store)
- Hot glue gun + glue sticks (we love the Gorilla Glue version)
- 5+ lbs of oranges (Cara Cara or Navel work great—leftovers make great cocktail garnishes!)
Time Investment: 6hrs – Overnight for best results
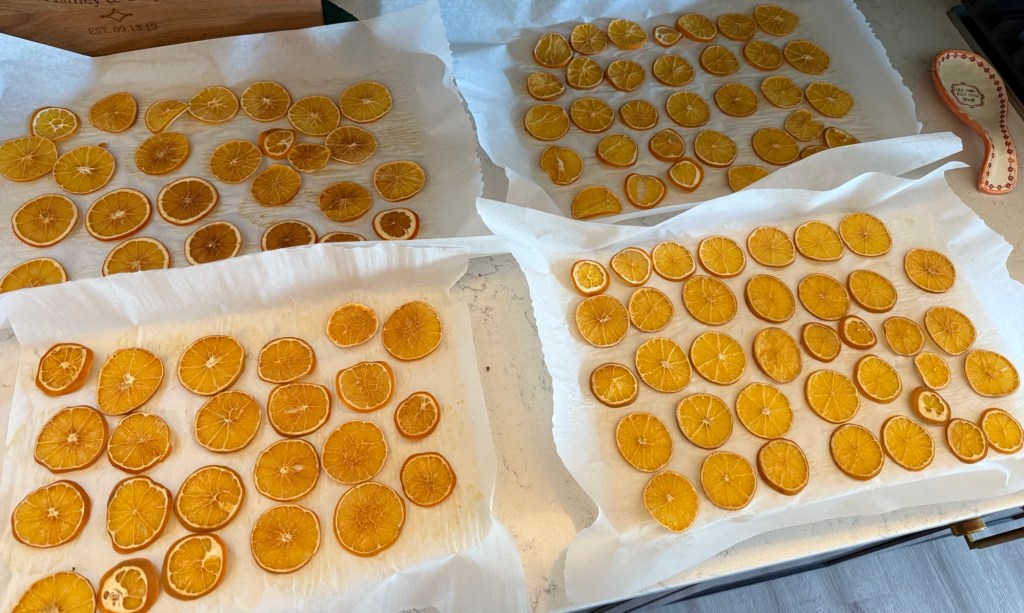
Step 1: Slice & Dehydrate
Start by thinly slicing your oranges (about ¼ inch thick). Do this with a very sharp knife and a lot of patience, any extra edges can be eaten as a snack as you go!
To dehydrate them, you can use a dehydrator or your oven:
- Oven method: Lay slices on a baking sheet with parchment paper. Tap the slices as dry as possible with a paper towel and bake at 175°F for 4 hours, flipping halfway through. You’ll know they’re done when they’re dry but still a little flexible. ** This varies depending on the oven. You can increase to 200°F to shorten cook time, but we had the best results at 175°F.
Once your oranges are fully dried, let them cool, ideally overnight so they can finish drying out, then get to designing! Use your hot glue gun to attach the slices to your wreath frame in whatever pattern you like—layered, spaced out, or overlapping for a fuller look.
Let it dry completely, hang it up, and admire your work!


Leave a comment